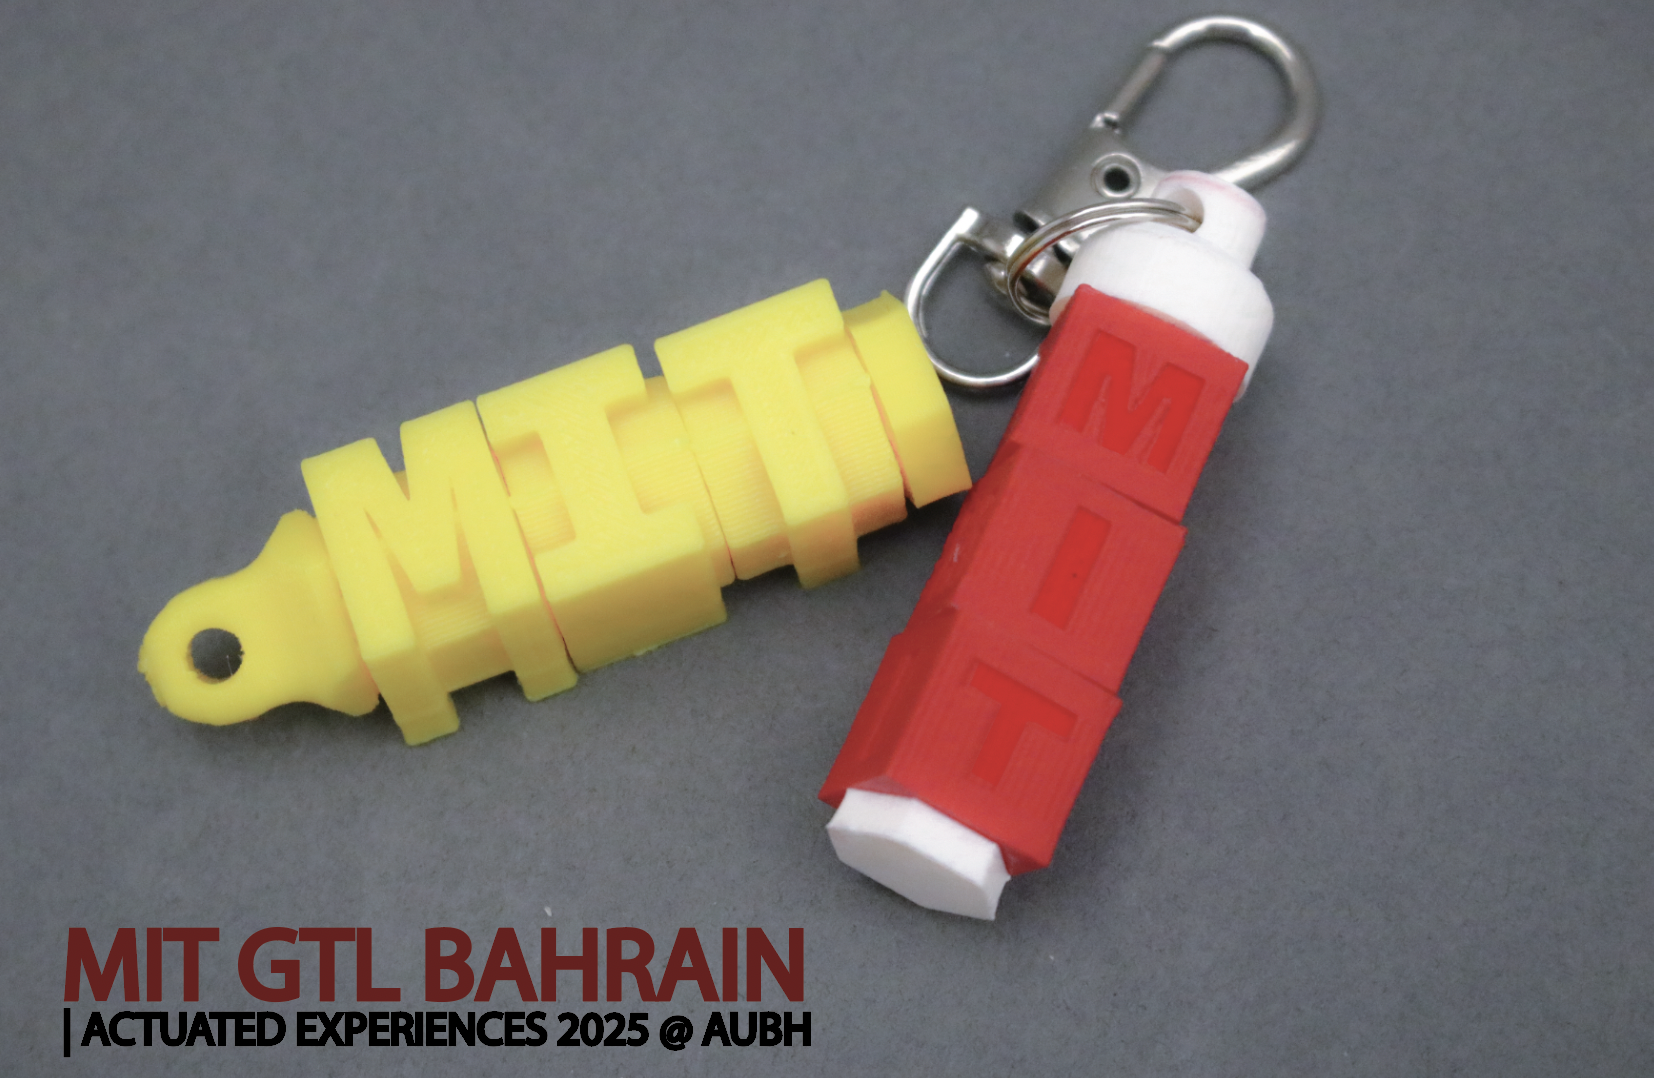
Lab 3: Let’s 3D Print & Post-Process a Rotating Keychain!
🦺 Introduction & Safety
(1 minute read)3D printing is an additive (add material) manufacturing process where computer-aided G-code (instruction code for the machine) is translated to build up material layer by layer. It has various techniques, including FDM , which extrudes hot thermoplastics (plastics that melt at elevated temperatures), SLA, which uses photoresin polymers that cure via light, and Polyjet 3D printing, among others.
In this lab, you will learn how to:🔨 Fabrication Quest of the Day
🏗️ Software & Hardware
Software:
- Fusion360
- Ultimaker Cura (Ultimaker 3D Printer Slicing Program)
Machines:
- FDM 3D Printer
You don't need to do all post processing techniques; you can pick and choose! These are not in order, but if you wanted an order, let your instructor know;
Option (1): Sanding (20 minutes)
Sanding is somehow similar to Lab-1: use sandpaper and sand in a circular motion. Do not sand in one direction only.Sanding is a subtractive/abrasive process and reduces part size, so avoid sanding critical surfaces unless it's intentional or fits were designed oversized.
First, start with 100-200 grit sandpaper. This is so you can remove the steepness caused by the grains. Then increase to 600 (which is a fine grit), so that you may remove the lines resulting from the sanding process.
Note that the purpose of sanding here is to ensure that your surface is all at the same height and there are no bumps, and in a way it is preparing your object to be spray-painted later on.
Option (2): Spray Painting (1 hour)
- wear the appropriate PPE (mask, goggles, lab coat, nitrile gloves etc).
- If you are using the airbrush, turn it on to let it reach the appropriate air pressure.
- Place a paper mat underneath your part to ensure a clean environment.
- Ensure that your part is clean and doesn't have any debris on it-- you may clean with a wet towel and distilled water.
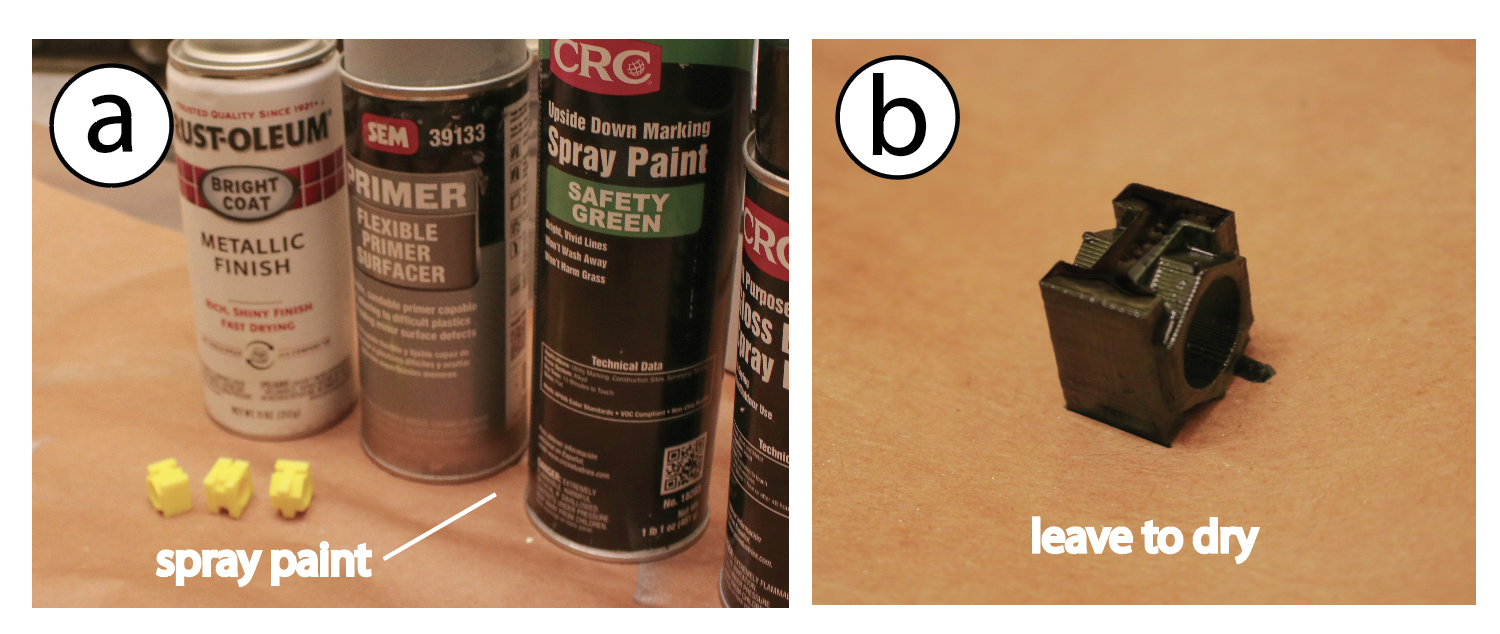
- Spray an even layer of primer first on all visible sides. Follow your instructor's demo on good spray painting procedure. Leave it to dry
- Move your part so you spary a layer of primer on all the remaining sides. Leave it to dry
- repeat steps 5-6 but with your choice of spray paint.
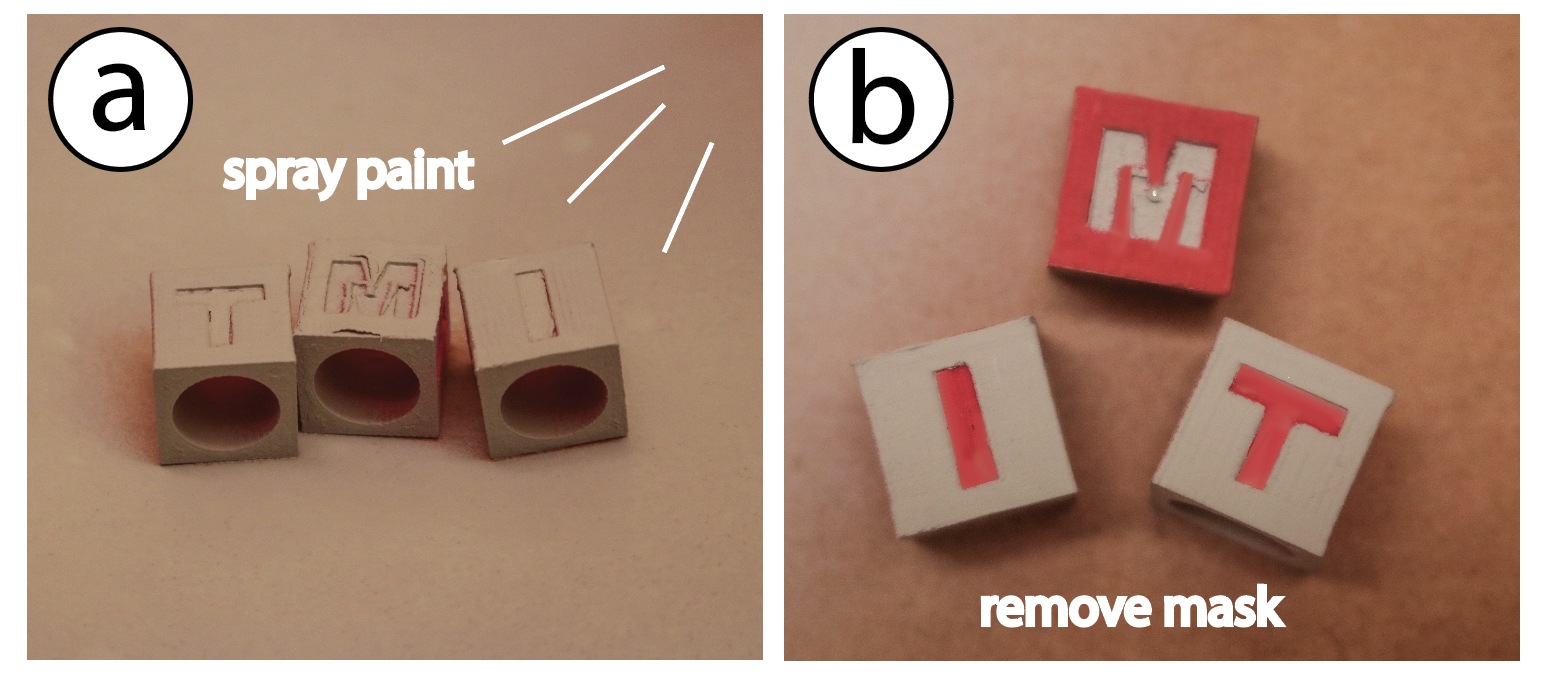
Option (3): Masks & Spray Painting (1 hour)
You may also be creative with your spray painting by introducing some masking techniques to spray paint select areas. To do so, export dxf masks from your 3D model using the Project Entity method taught in the Advanced Section for Lab (2) , or create a new mask using Illustrator. You will laser cut the mask.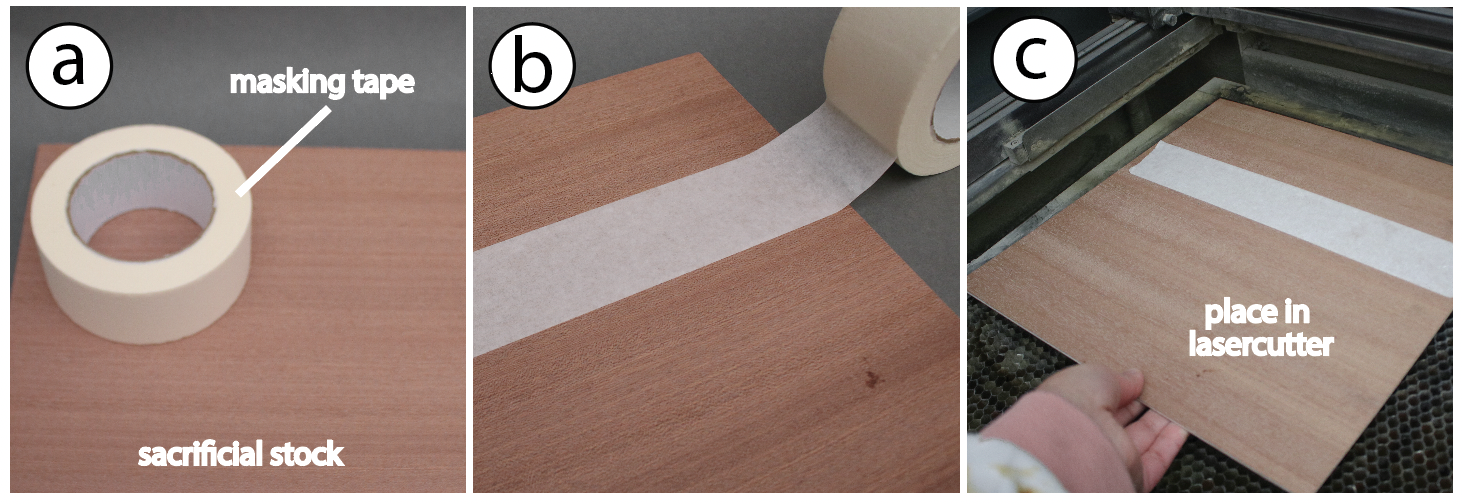
- Place painters tape on a sacrificial stock that is laser-cutter friendly like acrlyic or wood.
- Place in the lasecutter.
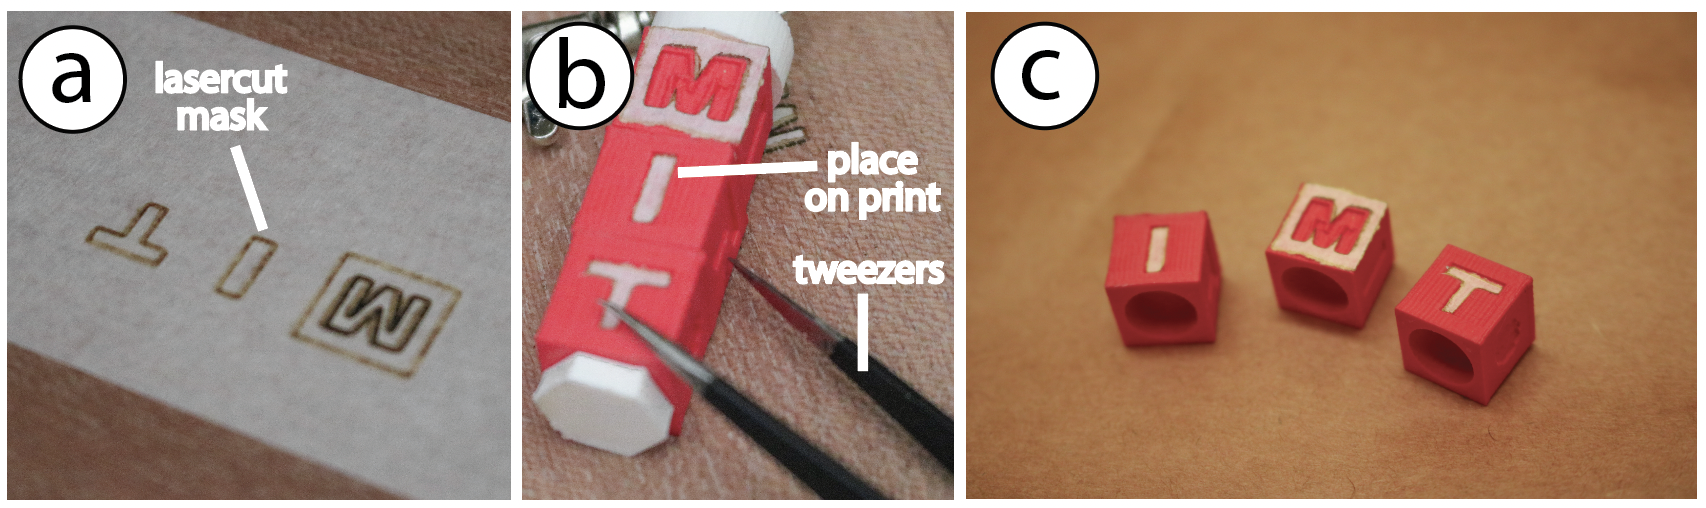
- Once cut, place the cut pieces on the print (unassembled) using tweezers and make sure that it is aligned and stuck on snugly.
- Follow the same Procedures for spray-painting in "Option (2)".
- Remove the mask with tweezers to see end result.
Option (4): Explore Active Dyes (1 hour)
While traditional paints can be used to give your parts a specific finish, active dyes allows you to add more creativity and interactivity to your designs. At the D-Lab, we provide two types of active dyes for your projects: thermochromic dyes, which change color with temperature, and photochromic dyes, which react to light.Thermochromic Dye
- Thermochromic dyes change color when they reach a specific temperature threshold. In this lab, you will work with two types of thermochromic dyes: appearing and disappearing. Each type is available in cyan, magenta, yellow, and black, which can be mixed to create any desired color.
- Appearing Dyes: These dyes become visible below 35°C.
- Disappearing Dyes: These dyes lose their color below 31°C.
Photochromie Dye
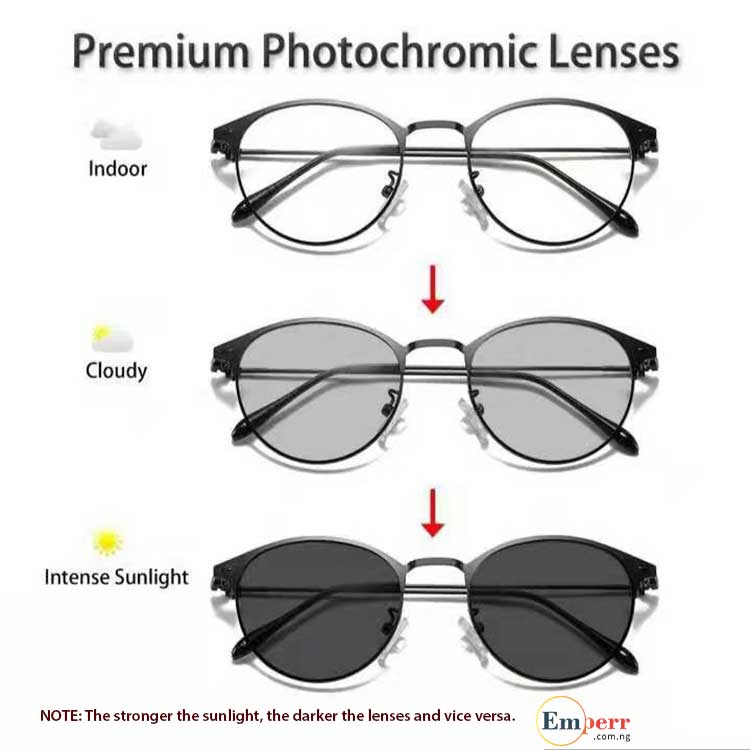
- Photochromic dyes change color when exposed to UV light. In this lab, you will explore photochromic dyes available in black and red.
- Functionality: The color change occurs upon UV exposure, making them ideal for applications such as outdoor sunglasses.
Option (5): Vapor Smoothing (40 minutes)
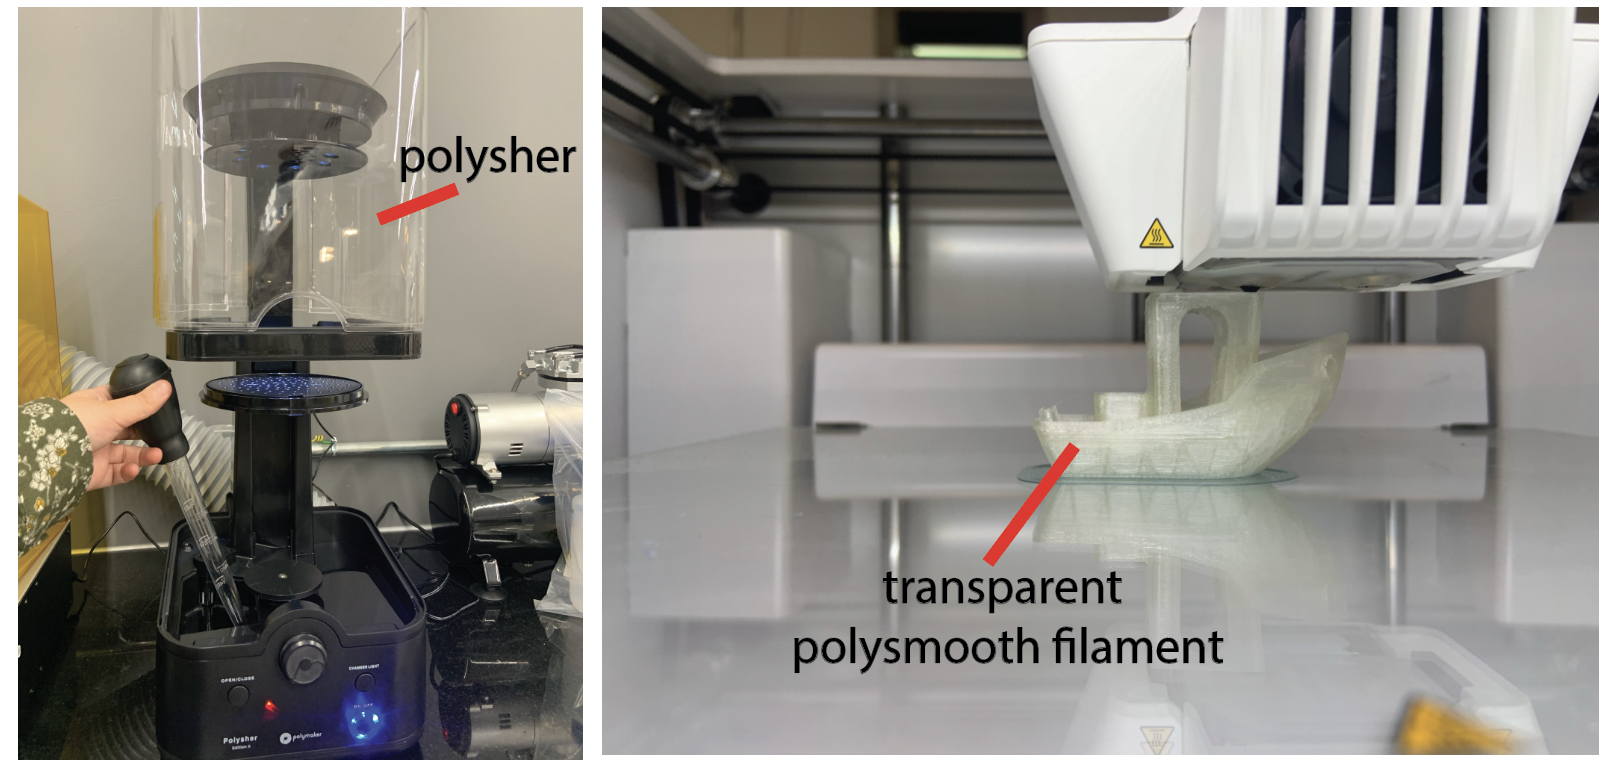
You can vapor smooth (smooth the surface so layer lines don't show) using Polysmooth filament with IPA (90% isopropyl alcohol) and the Polysher device available in the D-lab. This technique is suitable if your print uses Polysmooth filament. Consult your instructors for guidance on operating the machine.
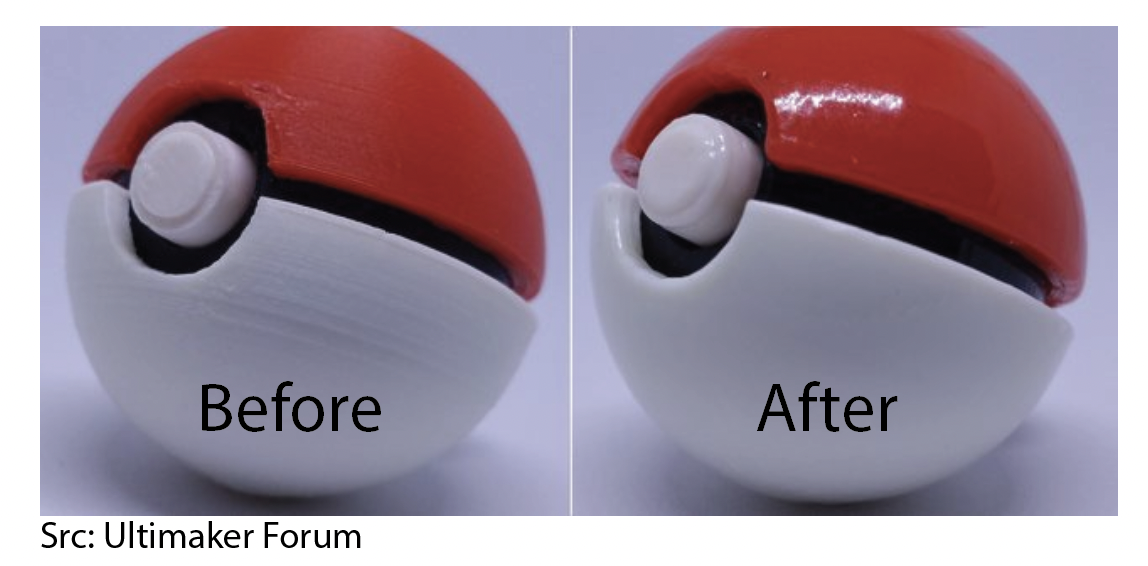
Option (6): Bondo/Resin Fillers for Smoothing (30 minutes)
Bondo or resin fillers like XTC-3D are excellent for smoothing 3D prints. They fill gaps and layer lines, creating a polished, professional finish. Below is an excellent blog-post on how to use Bondo Fillers to smooth out your 3D Print and give it a finished look;EXTRA READ: Coating for Food Safe Applications
Some filaments are food-safe, but for others, a food-safe resin coating is commonly used. In the US, you can purchase Smooth-On resin from Reynolds, which is food-safe and transparent, preserving the appearance of your print.
***Link for written content of Video
EXTRA READ: Electroplating
Electroplating can enhance the conductivity of 3D-printed parts, especially when using conductive filament. However, this process requires specific electricity settings and chemicals. Refer to this paper for detailed information. Link (1) Link (2)Discussion & Reflections
- Discuss the advantages and limitations of using 3D Printing for digital fabrication.
- What can we make? What is difficult to make?
- Reflect on the design process
- Consider any modifications that could have improved/elevated youre post-processing choice.